Our Knight Life

Las Vegas Mom Blogger | Family, Fitness, Product Reviews

  • Facebook
  • Twitter
  • Pinterest
  • Instagram
  • RSS
  • Blog
  • Parenting
    • Pregnancy
      • Baby Bump
    • Baby
    • Birth Stories
    • Breastfeeding
    • Babywearing
    • Cloth Diapers
    • Toddlers
    • Preschool
  • Family Fun
    • Crafts
    • Disney
  • Live Healthy
    • Running
    • Paleo
    • Eats & Treats
    • Fitness Friday
  • Whole30
  • Reviews
    • Baby Gear
    • Children’s Toys
    • Giveaways
    • Disclosure Policy

Spooky Tutorial ~ Trisha @ Trisha B Designs and 3 Under 4

October 6, 2010 By Emily 1 Comment

I’m so excited to be here today, and share this fun and easy tutorial!

First a little about myself. I am Trisha from 3 Four and Under. I have a 4 year old daughter and 19 month old twin sons. I love to bake, sew, craft, and create; all while my kids are sleeping.

Today I would like to show you how to make these Eerie Halloween Pillows, only $8 for both!

Materials Needed:
White doilies of your choice. (I used 4 larger ones for the big pillow, and 3 small ones for the smaller pillow)
1/2 yard black broadcloth. Two squares cut 18″ x 18″
6″ x 18″ piece of matching fabric
Orange Rit Dye
Black thread
1/2 yard Heat n Bond
Fiberfill
Iron

How to Dye the Doilies:
*You will notice that the pictures are of dying a onesie, but the process is the same as dying the doilies.
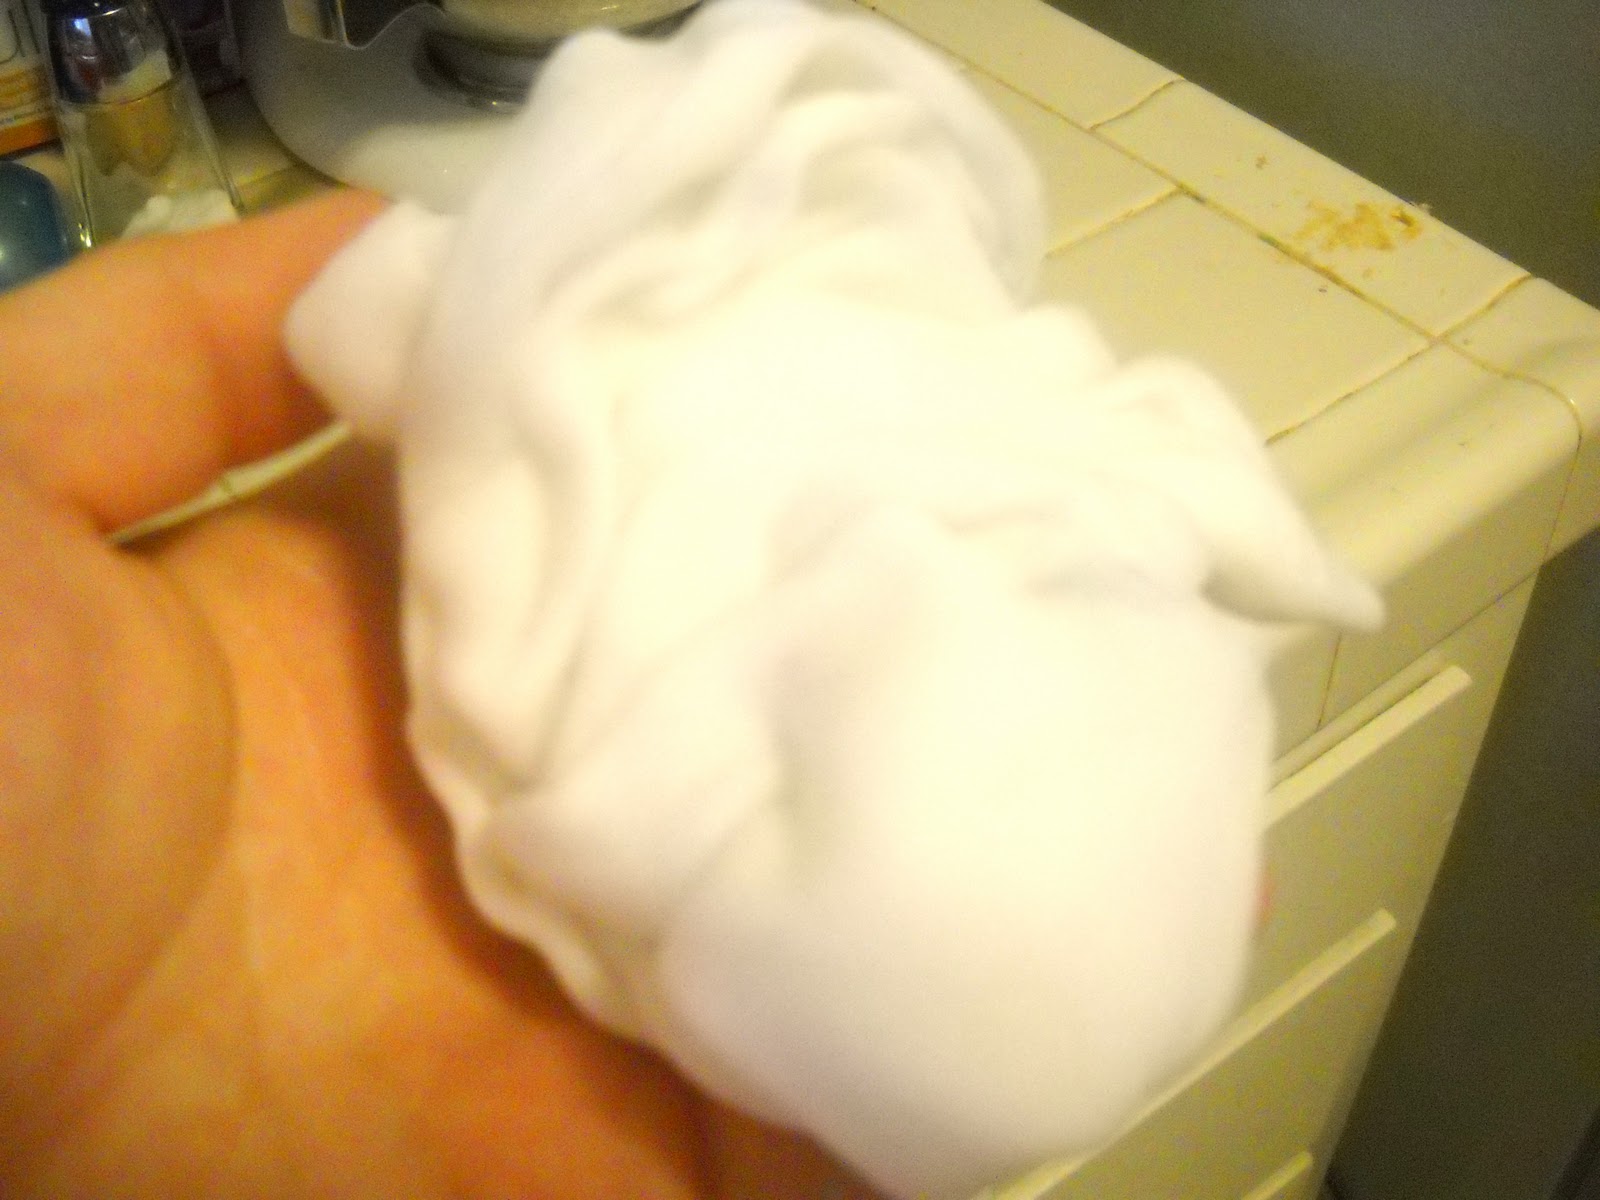
First, fill up a large bowl or container with hot water. Enough water to cover the item(s) you are dying. And add the dye to the bowl. Add as little or as much as you want. Stir the water and dye together making sure that it is all dissolved.

Next, take the doilies you are dying and drench them in hot water so that the dye will soak in better

Place your doilies into the dye. Let the doilies stay in the dye until you are satisfied with the color. I leave mine in for a while to have a more vibrant color

Take the doilies out of the dye and rinse in the sink until the water runs clear

Lay flat to dry. And they will look like these

Now that the doilies are dry, we can now make the pillows!

How to Make the Pillows:

Take the doilies are iron them onto the Heat in Bond. I found it easier if you iron them on from the back of the Heat n Bond. The doilies are too thick to iron on top of them.

Once the doilies are all ironed onto the Heat n Bond, peel them off and use scissors to trim off any excess around the edges. Iron the doilies onto the black broadcloth, ironing on the back of the fabric again.

Once you have the doilies ironed onto the black broadcloth, place the two squares right sides together and pin. Sew around the edge of the pillow, leaving on side open to stuff.

Stuff the pillow, turn the open side, pin and sew with the sewing machine or whipstitch with a needle and thread

Do the same process with the smaller pillow. And there you have it!

Thanks so much for letting me stop by today and share my Eerie Halloween Pillow tutorial!

Wow! Aren’t those super cute! You know what I love about this? It is easy, and you can do it for any holiday, or just as a fun way to decorate any room in your home!

Trisha is also one of our fabulous sponsors for Mommy’s Lil Monster Bash. Enter to win a $25 Gift Certificate to her Etsy shop here.

Head over to Trisha’s family blog 3 under 4 and tell her how much you loved her pillow tutorial for 4 extra entries into the giveaway of your choice. Comment “I told Trisha how spooky cool her pillows were!” (Use them all for one giveaway or split them up, your choice!)

Don’t forget you get 2 extra entries every day per vote for Family and Life in Life in Las Vegas on Top Mommy Blogs and The Picket Fences.

  • Biography of the Author(Read Below)..
  • Latest Posts (view them )..

Emily

Emily is a wife & mom living in Las Vegas. The owner and writer at Our Knight Life, Emily loves sharing her two adorable boys and journey through motherhood. Emily has run four half marathons to date and is always training for her next big race. She also enjoys creating healthy recipes for her family and sharing family friendly product reviews.

Latest posts by Emily (Posts)

  • Don’t Call It A Comeback - February 7, 2019
  • The Little Prince at The Smith Center Las Vegas – Ticket Giveaway - January 31, 2017
  • 3 Simple Ways To Add Color To Your Diet @SUBWAY @OfficialSubway - January 13, 2017
  • Disney’s Moana in Dolby Cinema at AMC Movie Review - November 27, 2016

You may also like -

  • Creepy Crafts ~ Michell @ Girl in Air
  • Spooky Tutorial ~ Sara @ Sara’s Organized Chaos
  • Sponsor Highlight #6 w/extra entries {SugarCubes}Sponsor Highlight #6 w/extra entries {SugarCubes}
  • Toddler Wonderland Tutorial ~ Nicole @ The Two Savvy SistersToddler Wonderland Tutorial ~ Nicole @ The Two Savvy Sisters

«
»

Filed Under: All Tagged With: Blog Events, Pictures, Tutorial

Comments

  1. livingoutloud says

    October 7, 2010 at 1:27 am

    Hi! I am a new Green Follower.
    Found you at the Green Hop.
    Living Out Loud
    http://lgreenss.blogspot.com/

    Reply

Leave a Reply Cancel reply

Your email address will not be published. Required fields are marked *

This site uses Akismet to reduce spam. Learn how your comment data is processed.

Search

Image Map
  • Bloglovin
  • Email
  • Facebook
  • Google+
  • Instagram
  • Pinterest
  • Twitter
Save 40% Off Your First Box at Steve Spangler Science
Daily Boutique Deals

Grab A Button

Our Knight Life

Categories

Copyright © 2023 · Website Design By Jumping Jax Designs
We use cookies to ensure that we give you the best experience on our website. If you continue to use this site we will assume that you are happy with it.Ok