Our Knight Life

Las Vegas Mom Blogger | Family, Fitness, Product Reviews

  • Facebook
  • Twitter
  • Pinterest
  • Instagram
  • RSS
  • Blog
  • Parenting
    • Pregnancy
      • Baby Bump
    • Baby
    • Birth Stories
    • Breastfeeding
    • Babywearing
    • Cloth Diapers
    • Toddlers
    • Preschool
  • Family Fun
    • Crafts
    • Disney
  • Live Healthy
    • Running
    • Paleo
    • Eats & Treats
    • Fitness Friday
  • Whole30
  • Reviews
    • Baby Gear
    • Children’s Toys
    • Giveaways
    • Disclosure Policy

Christmas Checkerboard Cookies

November 22, 2010 By Emily 4 Comments

I am a huge fan of Trisha’s Blog 3 Under 4 and her etsy shop! 


Lucky for you, she is back with another fantastic tutorial, and the best part about this tutorial is not only does it look good, but it tastes great too! 

Don’t forget to leave some comment love on 3 Under 4 after reading this tutorial. If you do, you can have 4 extra entries into the giveaway of your choice.

I have seen Checkerboard Cookies before, but I wanted to change them up a little bit.


I wanted to try three colors and a different pattern


Cookie Tutorial copy


Vanilla Shortbread


1 1/2 sticks of butter softened


1/3 cup granulated sugar


1 tablespoon pure vanilla extract


1 large egg yolk


1 1/2 cups all purpose flour


Directions:


Cream the butter and sugar. Next add the vanilla extract and egg yolk until combined. Add flour a little at a time until all combined. Shape into a disk/ball shape and wrap in plastic wrap. Chill in the refrigerator for at least 1 hour. After chilled removed from the refrigerator


001 - Copy (3)004 - Copy (2)
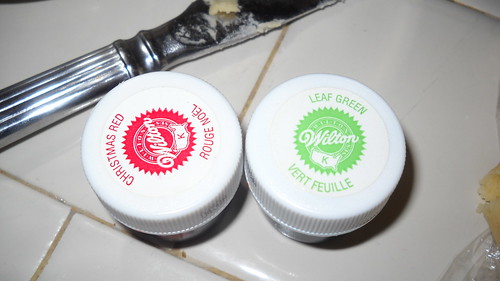
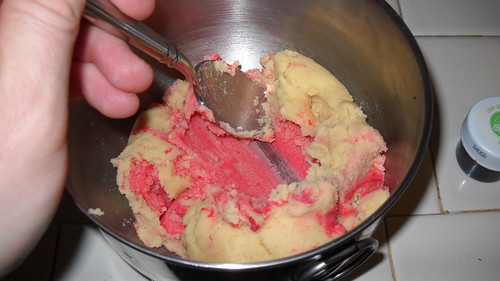
Next, use food coloring to dye the dough. I use Wilton gel food coloring
006 - Copy (2)008 - Copy (2)009 - Copy (2)
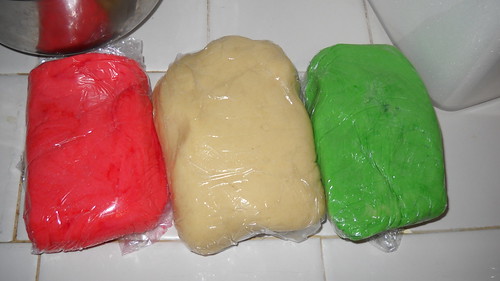
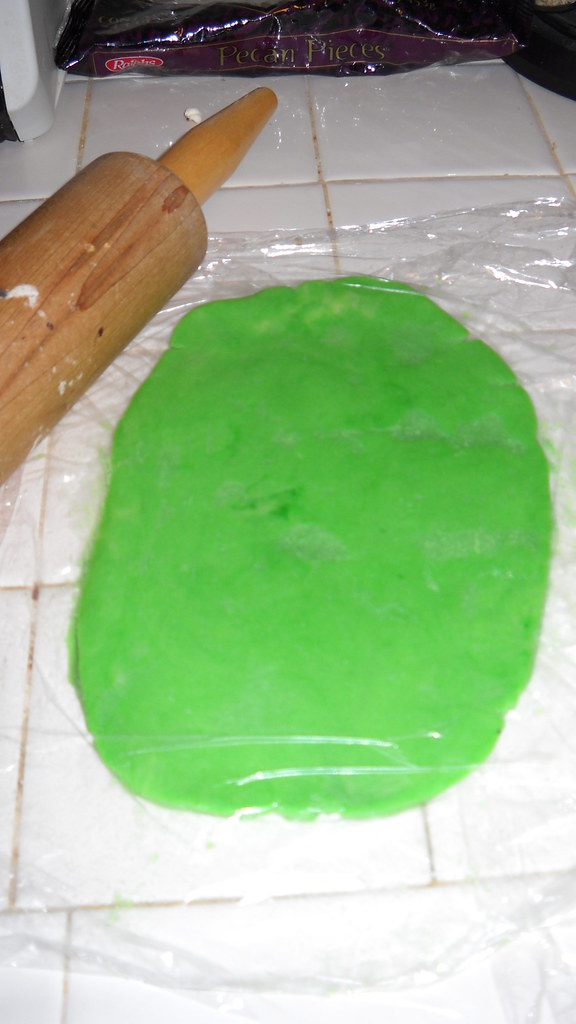
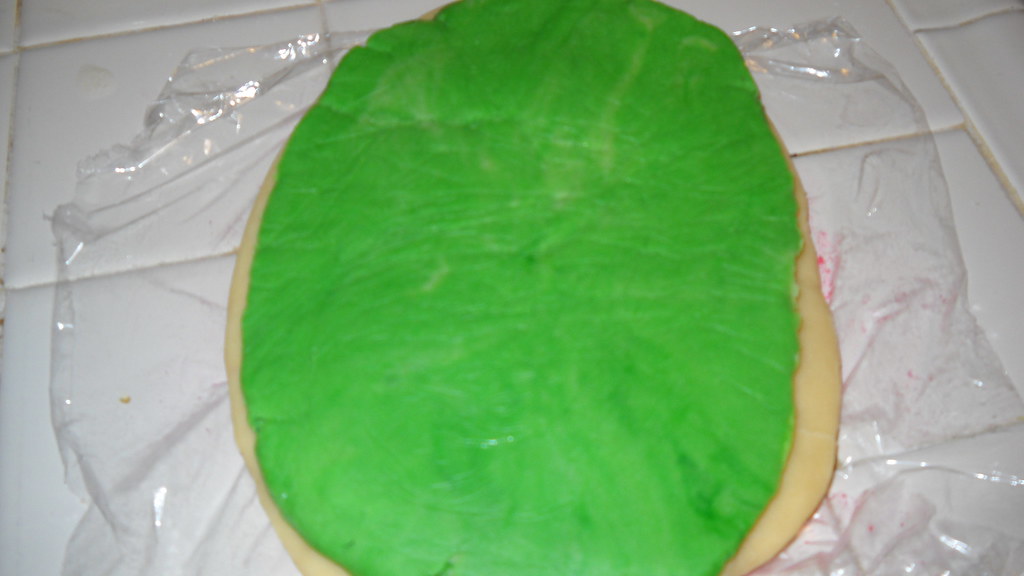
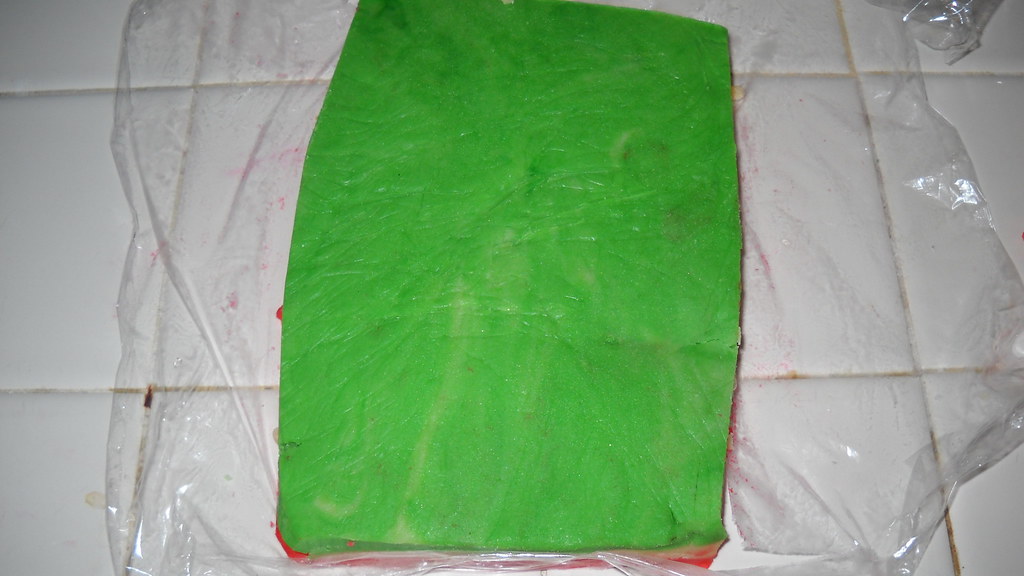
I wrapped my three different colors of dough back in the plastic wrap and chilled them in the refrigerator again for about 1 hour. Next, roll out the dough using a rolling pin into a rectangle shape. I like to put the dough in between two pieces of plastic wrap to roll out dough. That way you don’t need any flour all over your counter. I like less clean up at the end!
010 - Copy (2)


They will all look somewhat like this011 - Copy (2)
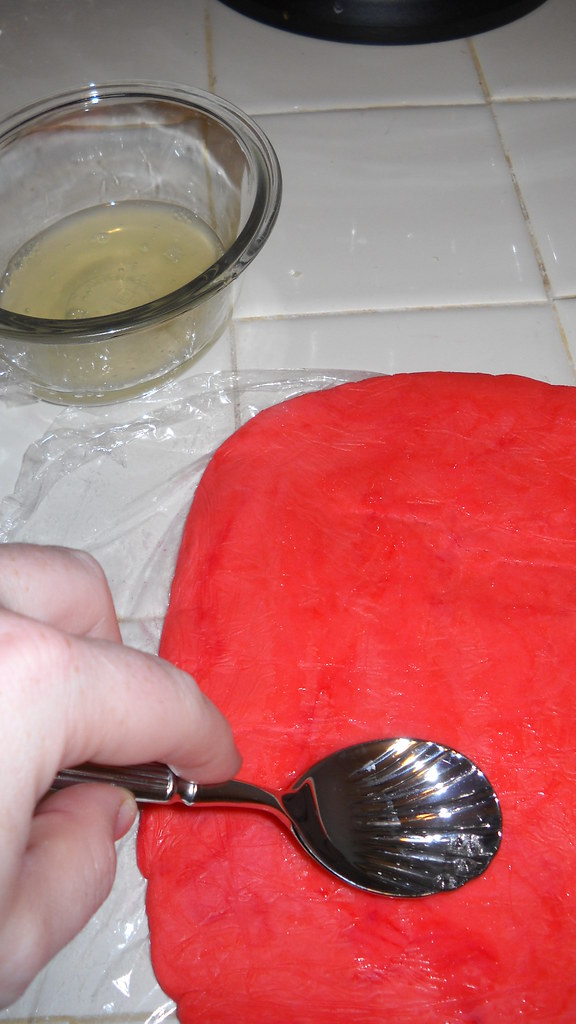
Next, you are going to be layering the three colors on top of each other. Brush the first piece of dough (red) with a little bit of egg whites. We use egg whites as glue to keep the three layers together. (I do not have a brush, so you will notice in the picture that I am using the back of a spoon to put the egg whites on the dough)


012 - Copy (2)
Then, place the second color (white) on top of the first
013 - Copy (2)
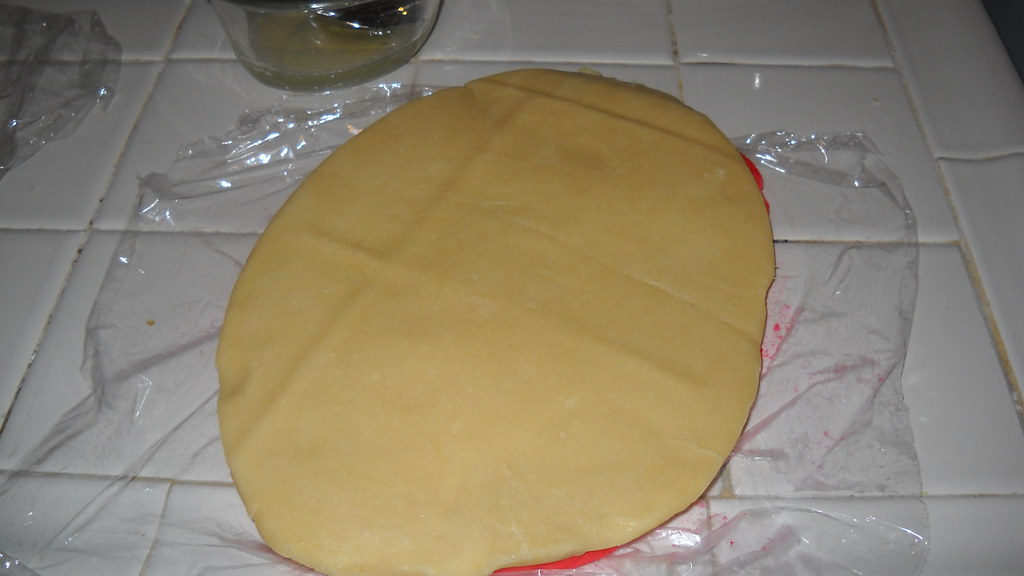
Brush the white dough with the egg whites and place the third color (green in this case) on top


014 - Copy (2)

024
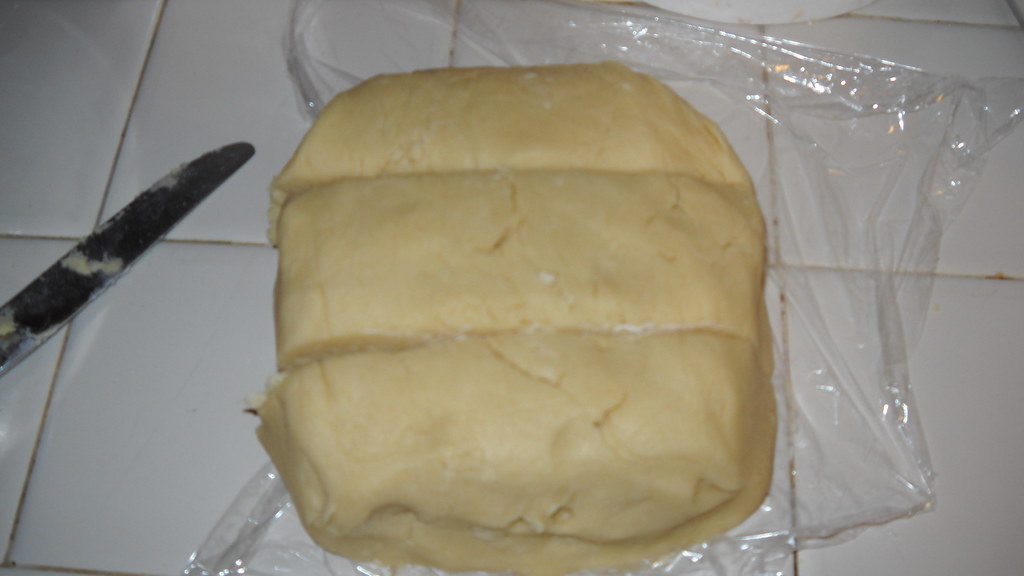
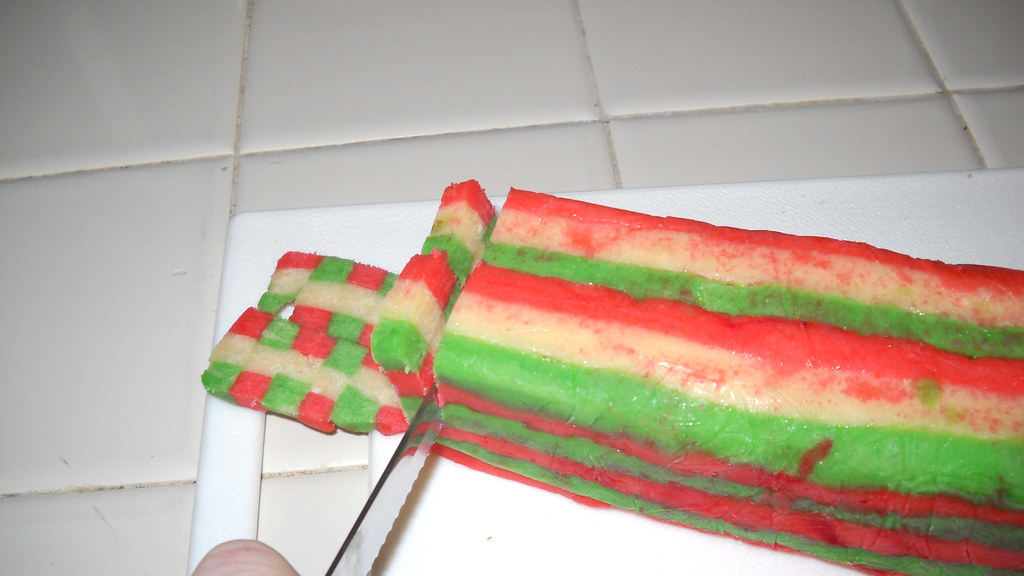
Take a sharp knife and cut the dough into 1/4 inch thick strips. You may want to use a ruler at this point, so that each slice is exactly the same.
028 - Copy
Alternate the strips in the design that you want. I alternated red/green on the top. Mine looks like this

Wrap back up with the plastic wrap and chill for another hour. Take the dough out of the refrigerator and trim the edges so that you have a rectangle


029 - Copy
Wrap it up in the plastic wrap again and chill for another hour. Remove from the refrigerator and slice into cookies.
.
032
Place on a cookie sheet and place into a preheated 350 degree oven for approximately 10 minutes.


033
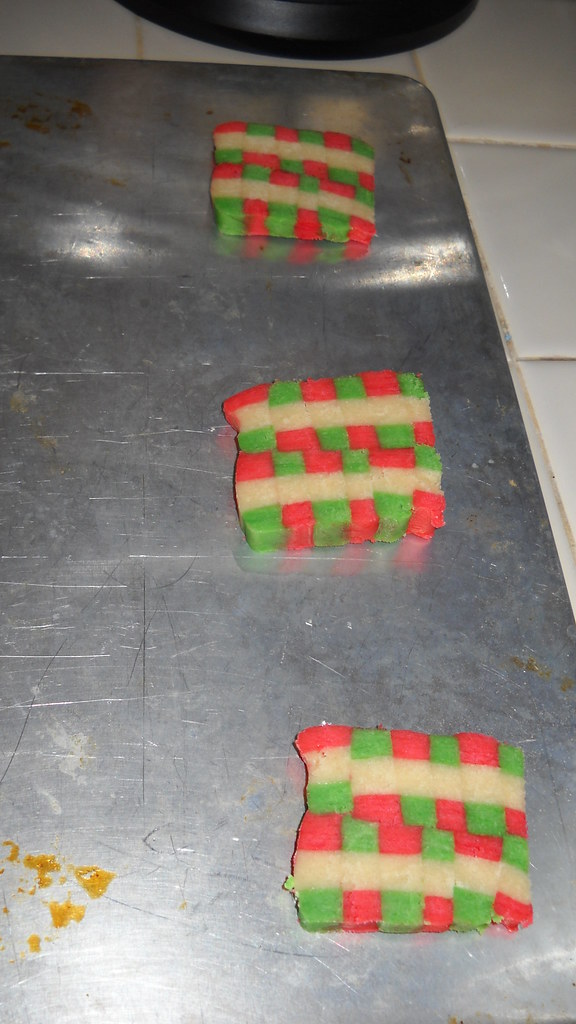
Take the cookies out of the oven before they have browned. The should not have any brown on them. Cooking time may vary depending on your oven. Please watch the cookies. 

And they will look something like this! Very festive and colorful! You can use any colors you want for any holiday, school colors or team colors!

Christmas Cookie
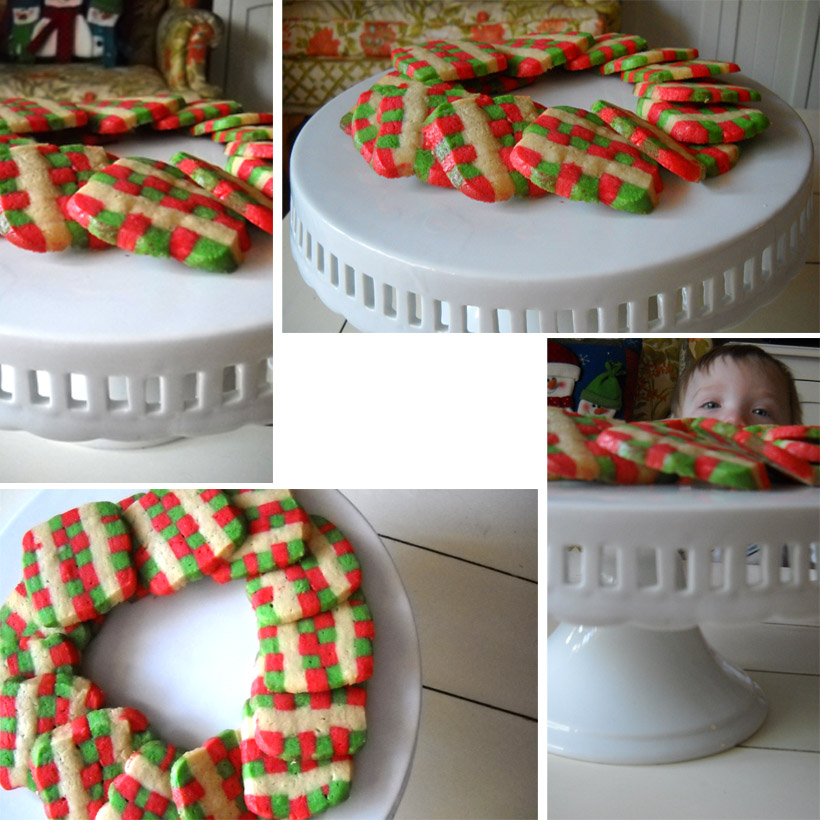
And as you can see….I had a little one that thought they looked yummy!


I hope you enjoy this recipe, they take a few hours of time, but they are impressive and everyone loves them!

Thanks Trisha!

  • Biography of the Author(Read Below)..
  • Latest Posts (view them )..

Emily

Emily is a wife & mom living in Las Vegas. The owner and writer at Our Knight Life, Emily loves sharing her two adorable boys and journey through motherhood. Emily has run four half marathons to date and is always training for her next big race. She also enjoys creating healthy recipes for her family and sharing family friendly product reviews.

Latest posts by Emily (Posts)

  • Don’t Call It A Comeback - February 7, 2019
  • The Little Prince at The Smith Center Las Vegas – Ticket Giveaway - January 31, 2017
  • 3 Simple Ways To Add Color To Your Diet @SUBWAY @OfficialSubway - January 13, 2017
  • Disney’s Moana in Dolby Cinema at AMC Movie Review - November 27, 2016

You may also like -

  • Recycled Christmas Cards Placemats ~ Green So EasyRecycled Christmas Cards Placemats ~ Green So Easy
  • Toddler Wonderland Tutorial ~ Nikki @ The Perils of a Working MomToddler Wonderland Tutorial ~ Nikki @ The Perils of a Working Mom
  • Toddler Wonderland Tutorial ~ Schnitzel and BooToddler Wonderland Tutorial ~ Schnitzel and Boo
  • Toddler Wonderland Tutorial ~ Nicole @ The Two Savvy SistersToddler Wonderland Tutorial ~ Nicole @ The Two Savvy Sisters

«
»

Filed Under: Toddlers Tagged With: Christmas, Tutorial

Comments

  1. Marci says

    November 22, 2010 at 4:46 pm

    Oh my goodness Emily! These are so dang cute!! I want to try them out, going to book mark this one ๐Ÿ™‚ I wanted to thank you for your comment on my "Being thankful and Black Friday" post! So thoughtful and sweet. I hope you have a blast shopping this Black Friday! Good luck taking your little one. Let me know how your shopping day goes and what you got k? Have a great day, and thanks again!

    -Marci

    Reply
  2. Judy says

    November 22, 2010 at 6:02 pm

    Those are amazing! I made some candy corn sugar cookies and am wondering if this would work with a normal sugar cookie recipe? I love how fun those are and can't wait to try making some!

    Reply
  3. Sue says

    March 1, 2011 at 1:00 pm

    Your cookies look so fun and beautiful! Love them!

    Reply
    • Emily says

      March 3, 2011 at 1:20 am

      Thank you! I wish I could take credit for them – but they are Trisha from 3 Under 4. ๐Ÿ™‚

      Reply

Leave a Reply Cancel reply

Your email address will not be published. Required fields are marked *

This site uses Akismet to reduce spam. Learn how your comment data is processed.

Search

Image Map
  • Bloglovin
  • Email
  • Facebook
  • Google+
  • Instagram
  • Pinterest
  • Twitter
Save 40% Off Your First Box at Steve Spangler Science
Daily Boutique Deals

Grab A Button

Our Knight Life

Categories

Copyright © 2025 ยท Website Design By Jumping Jax Designs
We use cookies to ensure that we give you the best experience on our website. If you continue to use this site we will assume that you are happy with it.Ok