DIY Halloween Paper Wreath
If you are anything like me you love wreaths. Every season I have a wreath out and every holiday I put together a themed wreath! I love how something simple like putting out a new wreath can instantly add interest and character to your home! Whether it is on a front door, over a mantle or somewhere else a wreath adds instant charm!

I had never made a paper wreath before until Emily saw one she liked and I knew I had to give it a try! I think it turned out pretty cute and is an easy project to get done one evening when the kids are in bed and you are catching up on your favorite show!
For this project you will need:
- Cardboard
- Plate
- Pen/pencil
- Scissors
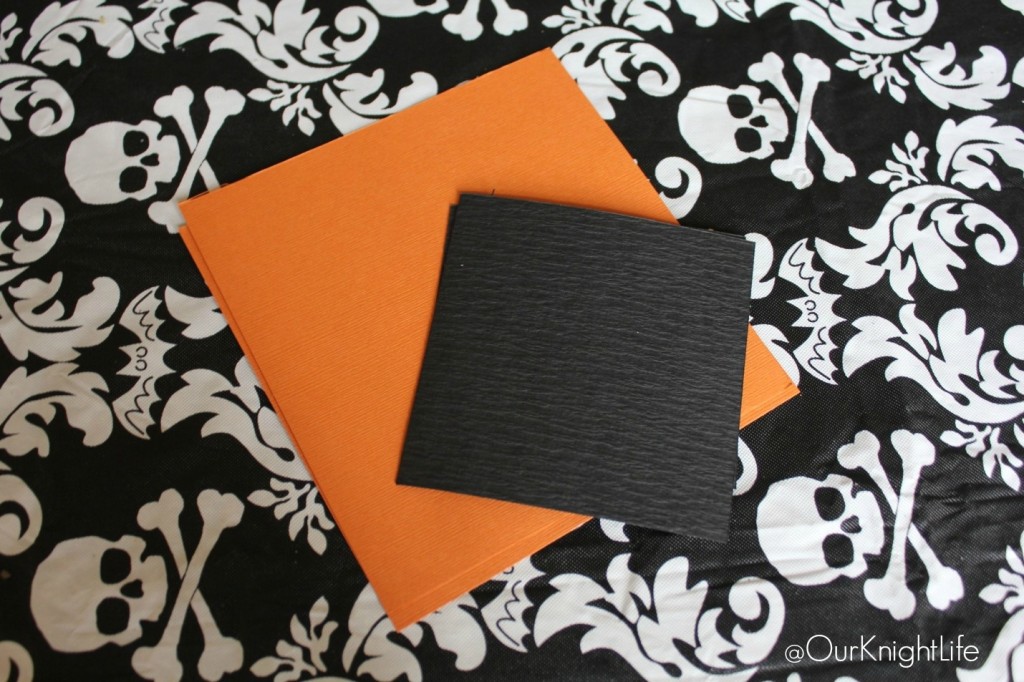
- 12X12 double sided scrapbook paper in Orange
- 12X12 double sided scrapbook paper in Black
- A fun object of your choice for the center
- Hot Glue Gun and glue sticks
- Ribbon
- Optional- a paper cutter (name???)
- Optional- ruler
- Optional- exacto knife
First let’s make the base for your wreath. Take your plate and trace it on a piece of cardboard. Cut the circle out with your scissors or use an exacto knife if you prefer. Don’t worry about getting it perfect, no one will see this!

Next let’s get the scrapbook paper ready to make our cones. Take your orange paper and cut it in 6”X6” pieces. You will be able to get four out of a sheet. You can do this with scissors and a ruler or use a paper cutter. I used 15 squares for mine. Yours may vary slightly based on the size of your wreath. Next cut your black paper into 4”X4” squares. I used 12 squares for mine.
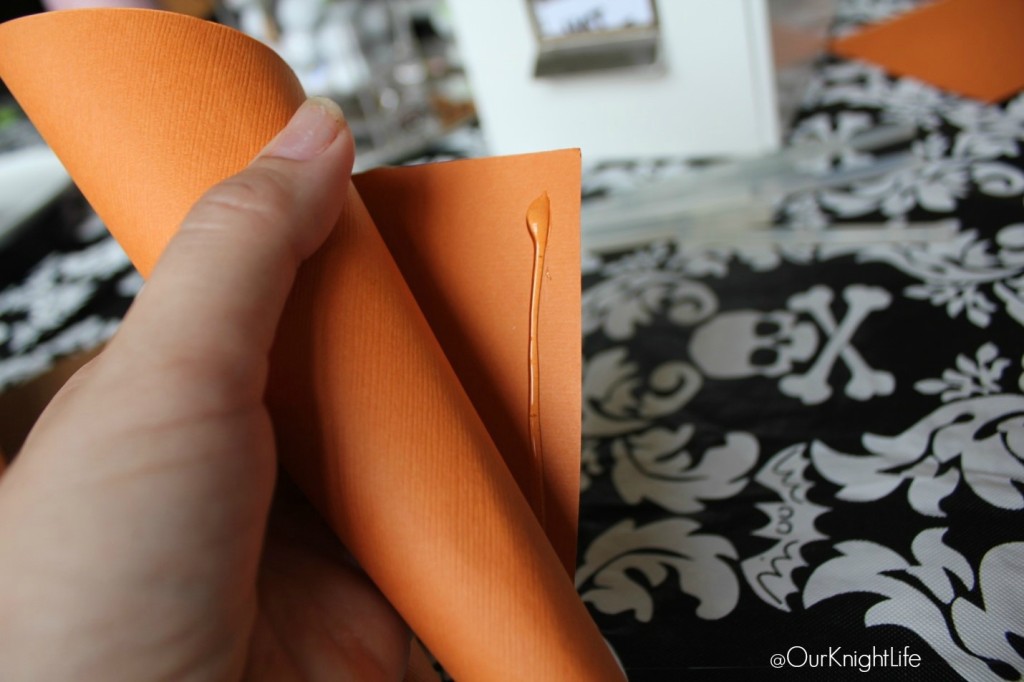
Now its time to make our cones! Take one sheet of your cut orange paper and hold it up so it looks like a diamond. Gently fold over one side (do not crease). Bring your other side of the diamond in. You are making it look just like a waffle cone!

Try to keep the point in the center as best you can then hot glue the outside flap down. Go ahead and make all of your cones, orange and black. Try your best to keep them generally the same size but a little variation is not going to be a problem!
Lay the orange cones out on the cardboard in a circle so that they are just barely touching each other. I pressed down very lightly on them so they would slightly flatten without creasing but that is just a personal choice. You want them to extend past your cardboard base so add or subtract as many cones until you achieve the size that you want. You can do the “holes” of the cone face down or face up, whichever look you like best! I would keep them all the same for the sake of uniformity but there are really no rules!
Glue them down one by one onto the cardboard.
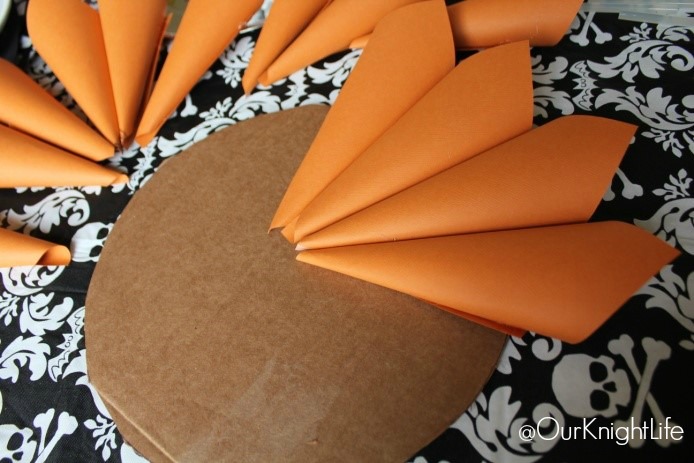
You don’t need to worry about the center being pretty because we will do a second layer. Just try to keep the points in the center of the cones!

Once the orange layer is done do the same with the smaller black layer.

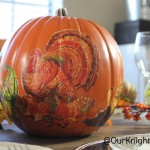
You’re doing great! Once you have your black layer all done you can finish it off by gluing something in the center. I chose to put a sparkly spider. Anything would be cute! Some other ideas would be a monogram letter that you can print and cut out on Orange paper, print and cut a sign that says “Happy Halloween”, a rubber bat or any other Halloween item you have laying around.

Hot glue a ribbon loop on the back of the cardboard to hang your masterpiece up and enjoy!
Wasn’t that easy?
Happy Halloween!
Latest posts by Rebecka C. (Posts)
- 5 Dates To Celebrate Our 5th Wedding Anniversary! Bonefish Grill Review - June 1, 2015
- YogaLean by Beth Shaw {Book Review + #Giveaway} - March 20, 2015
- Heart Shaped Cupcakes for Valentine’s Day - February 4, 2015
- Urbini Avi Jogging Stroller Review - January 14, 2015


My kids are having a fit. I still haven’t decorated for Halloween. I keep meaning to but other things come up. You’re inspiring me to get it together and start!
This is something that I could do with my son. Thank you for sharing.
This is so cute! My kids are driving me bananas to start decorating for Halloween.
Such a pretty wreath.
REALLY cute! And I love how simple it is!
Very cool!
I love this! And its easy enough for me to make!
A ww these are so cute and the fact that they are quick and easy – just perfect.
it’s really cute. You just gave me an idea to make something else too
That is really creative and cute!
We’ll be decorating the house and yard this weekend. The kiddo is beyond excited. This is a great craft to add!
I love this & might make one with my daughter this weekend.
Oh I love it. So pretty and yet elegant depending on how much or letting one would want to adorn the wreathe with.
This is so cute and looks so simple!
That is so cute and looks easy enough that the kids and I could make it. Thanks for the idea!
That’s really cute and looks like it’s not too complicated! That’s the best sort of craft!
That is such a gorgeous wreath!
That is just lovely! I can’t believe how simple it is to make.
I don’t usually decorate for Halloween because I just don’t care for creepy stuff. this is super cute though and something my little one could make and we could enjoy 🙂